Warning: Illegal string offset 'filter' in /var/www/wp-includes/taxonomy.php on line 1737
How to make a worm bin from recycled materials
L. Rieber No Spray Staff WriterAs a natural farmer, nothing gets me more excited than earthworms. Other things make me happy like IMO’s (Indigenous Micro-Organisms), mulch and compost, but the presence of earthworms will put an instant smile on my face! If you have earthworms in your garden than you can guarantee you have IMO’s. This is not necessarily the same the other way around. IMO’s don’t always mean you have earthworms.
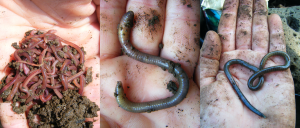
You can use earthworms to your advantage outside the garden as well. One way is that they can be kept in a bins and fed kitchen scraps. This in turn helps keep the stink out of your trash, reduce the waste going into landfills and will provide you with nutrient full soil for your garden and or houseplants. The best of all, worms are easy to keep up, don’t make any noise and you never have to walk them!
Making their “bed” (literally) is easy! Worms are not very picky, yet some materials are definitely better to use than others. They do not like spicy or “hot” materials like garlic, onion or even chili peppers. For the most part the best material to use is things that are full of carbon. Carbon is associated with dry and brown materials. Common materials that you may know are dried leaves, dried grass, hay, wood chips, coconut fiber, palm leaves, shredded paper and cardboard to name a few.
There are few key components you want to keep in mind when building the bed. they are moisture and material proportion.
Steps to make a worms bin (don’t worry, these are not set in stone and are merely guidelines to help you get started!)
PRE: determine how much food (waste) that you have to feed worms. The food includes any fresh kitchen scraps like lettuce, vegetable stalks, fruit, fruit peels, crumbled stale bread, old vegetables that no one ate etc. For every one pound of waste that your family produces, one to one and half pounds of worms is needed to consume it. An average family of four produces roughly four pounds of kitchen scrapes per week which in turn needs four to six pounds of worms to consume it.
1. Find materials. I like to use materials from around the area that I’m making the worm bin or things that are free. You need materials full of carbon. One of my favorite is palm leaves or palm fronds. They are big and provide a lot of material and they don’t cake up as much as newspaper can.
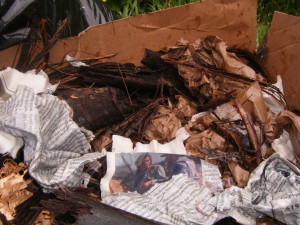
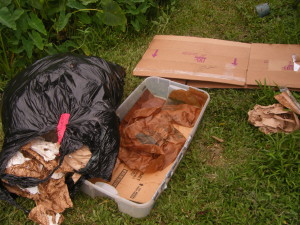
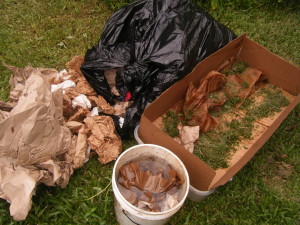
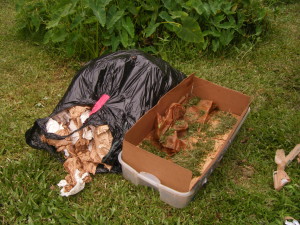
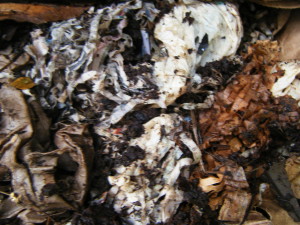
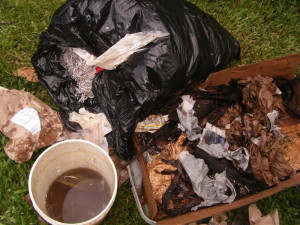
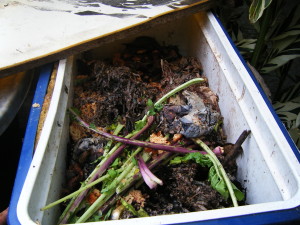
These ones are being made out of palm fronds, recycled cardboard, shredded newspaper and brown packing material. ((ALL this was going to be thrown out)) **Be cautious of wet, green or fresh material. You can add some but this is considered food for your worms and too much can cause bad things to happen in the bin including it heating up and or becoming stinky!
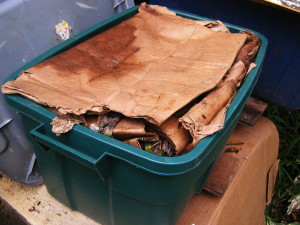
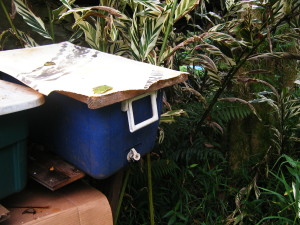
2. Find a bin. A worm bin should be no less than 3 inches deep and no higher than 2 feet. Plastic tote bins and or wooden boxes work great. If you can not find one, make one with the above dimensions or purchase a tote bin.
3. Fill a bucket or another “water holding” container with water. You do not have to fill it up all the way, but enough to be able to put some carbon material inside to soak up water.
4. Put the carbon material in the bucket. *** if using cardboard or newspaper rip them up into smaller pieces, 1 -2 ” thick. This breaks up the material to prevent it from becoming matted. You want the worms to be able to get through the bedding as easy as possible.
5. Line the tote bin with a pieces of cardboard or a thick layer of newspaper (shredded or not). This is to prevent ample light from entering the bin and irritating your worms which are nocturnal (they love the dark).
6. Find soil from around your area. If you have none- (that’s okay) find some from a nearby area. The closer to home the better. You want soil from near your area because soil contains indigenous micro-organism (IMO’s) that are comfortable in the area that you are at. They will reproduce the fastest and be the initial food for your worms.
7. Place the material inside the bin / box. MAKE SURE to squeeze out the material before you put it in the bin. You want to do layers of soil and the different materials that you have gathered. There is no perfect way to do this. You want to make sure that there are spaces in-between the material for your worms to go through so don’t pack it down. **prevent matting and caking of the material. Rip it up if you have to, twist it to create holes, wad it up into balls etc.
8. Finish by putting a layer of soil on the top of the layers.
** Keep in mind the ideal moisture for earthworms is 70%. This means that when you pick up the bedding and squeeze it, only drips should be able to come out. It is best to think of it like a damp sponge that is wrung out. When making the bin MORE moisture is better than LESS!!!! After a week or two though you want to make sure it’s around 70%.
9. Most worm growers say to wait at least one week to place worms inside the bin. They advise this to make sure that any material that can “heat up” has enough time to cool before you add the worms. If you have no patience and have an outdoor area, like me, you can put worms in immediately. Don’t expect them to eat much though for about two weeks. Like you and I, they need time to adjust to their new home.
10. Place worms in the bin. I like to put them about a handful down, in two or three places. Other books recommend to place them all in the center of the bin, in their current bedding and cover with your materials.
11. Cover with newspaper and cardboard (this prevents fruit fly infestation), add tote cover and wait. It is advised that worms need about two weeks to get accustomed, but I usually can only wait about three whole days before I have to add something into the bin to see if they will eat it. I always start with their favorite, either banana peels, lettuce or cabbage leaves.
12. Monitor the moisture level in the bin regularly. Add water when necessary.
13. Feed your worms daily or every two days depending on how fast your worms consume their meal.
14. Adjust, learn and experiment!
15. Have fun with your new found pet(s)!
“No Spray”
